PHP is a crucial part of any web server environment, powering many popular content management systems (CMS) such as WordPress, Joomla, and Drupal. Keeping your PHP version in cPanel up-to-date or selecting the correct version for compatibility is essential for your website’s performance, security, and functionality.
This blog post will guide you through the steps of changing the PHP version in two of the most widely used web hosting control panels: cPanel and DirectAdmin. Whether you’re a website owner, developer, or system administrator, this guide will make the process straightforward.
Why Change Your PHP Version?
Before we dive into the steps, it’s important to understand why changing your PHP version might be necessary. Here are some key reasons:
- Performance Improvements: Newer PHP versions often bring performance enhancements. For example, PHP 8.x is significantly faster than PHP 7.x.
- Security: Outdated PHP versions are more vulnerable to security threats. Upgrading to a newer version can protect your site from known vulnerabilities.
- Compatibility: Some applications or plugins require a specific PHP version to function correctly. Choosing the right version ensures compatibility.
- Feature Availability: New PHP versions introduce new features and functionalities that older versions may lack.
Now, let’s look at how to change the PHP version in cPanel and DirectAdmin.
Changing PHP Version in cPanel
cPanel is one of the most popular web hosting control panels, widely used by hosting providers and website owners. Changing the PHP version in cPanel is a relatively easy process, and here’s how to do it:
Step 1: Log in to cPanel
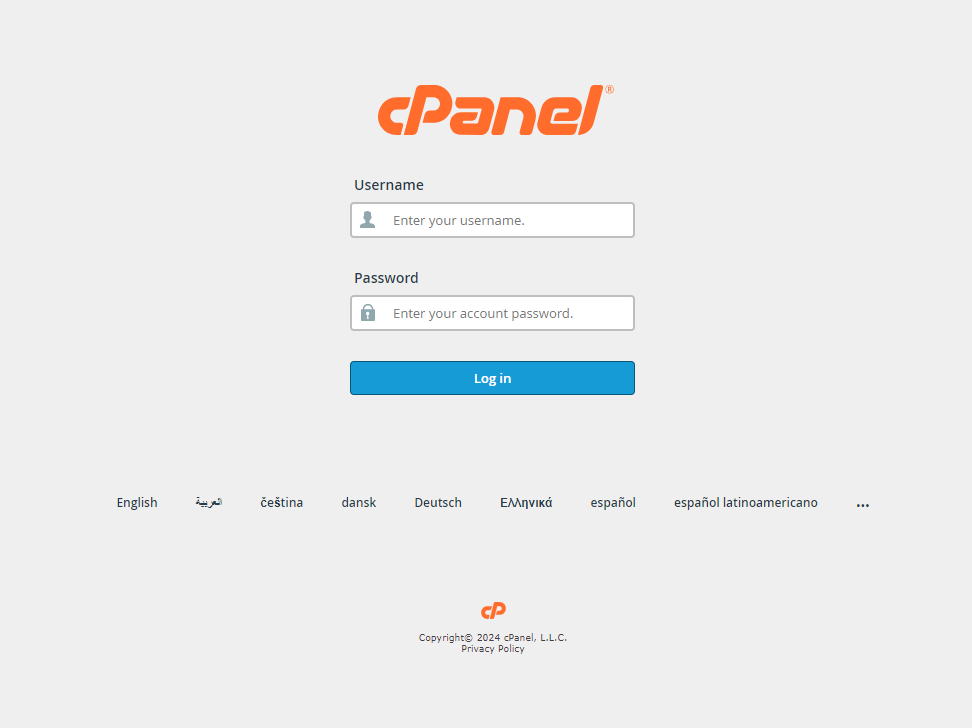
First, log in to your cPanel account. You can typically access your cPanel by navigating to https://yourdomain.com/cpanel or by logging in through your hosting provider’s portal.
Step 2: Find the “Select PHP Version” Option
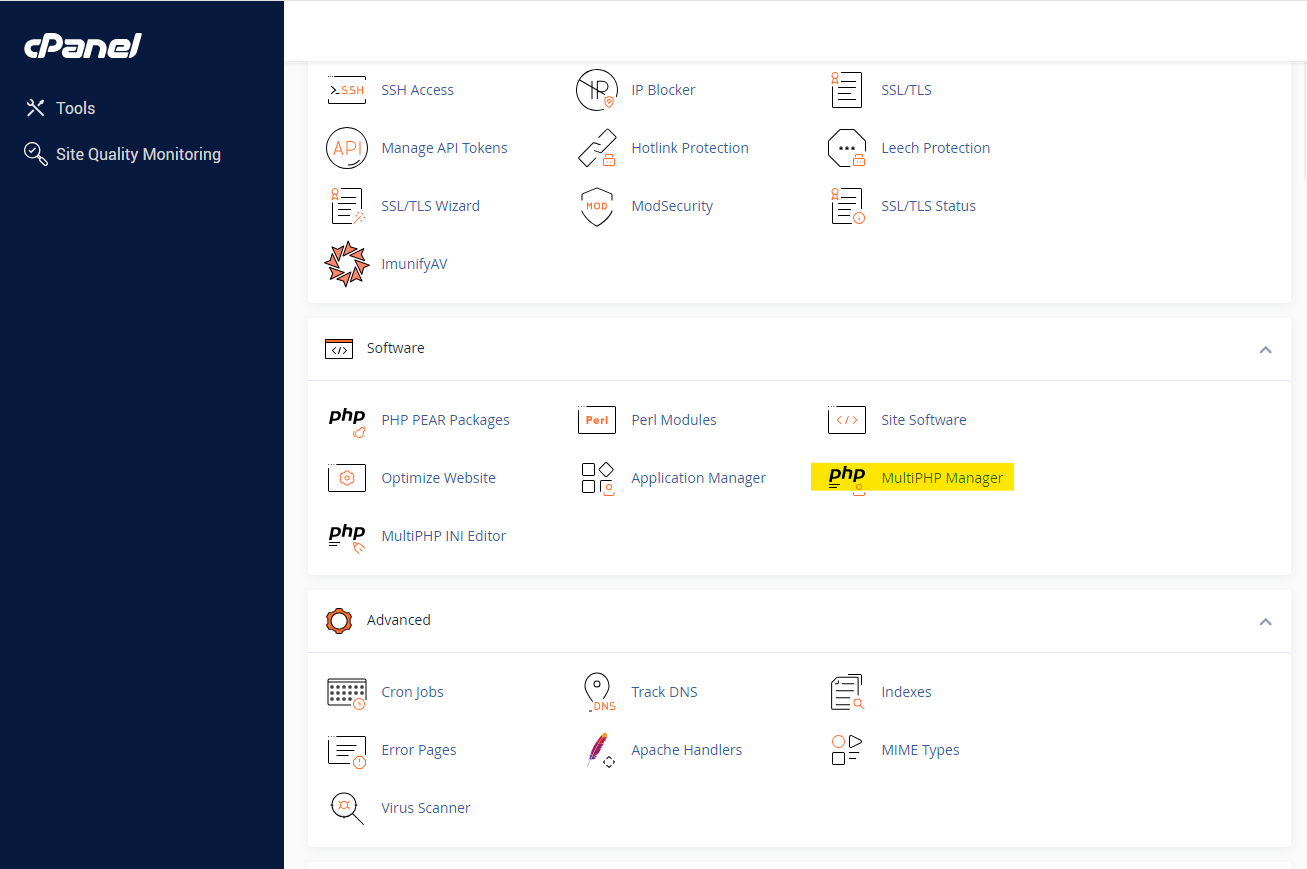
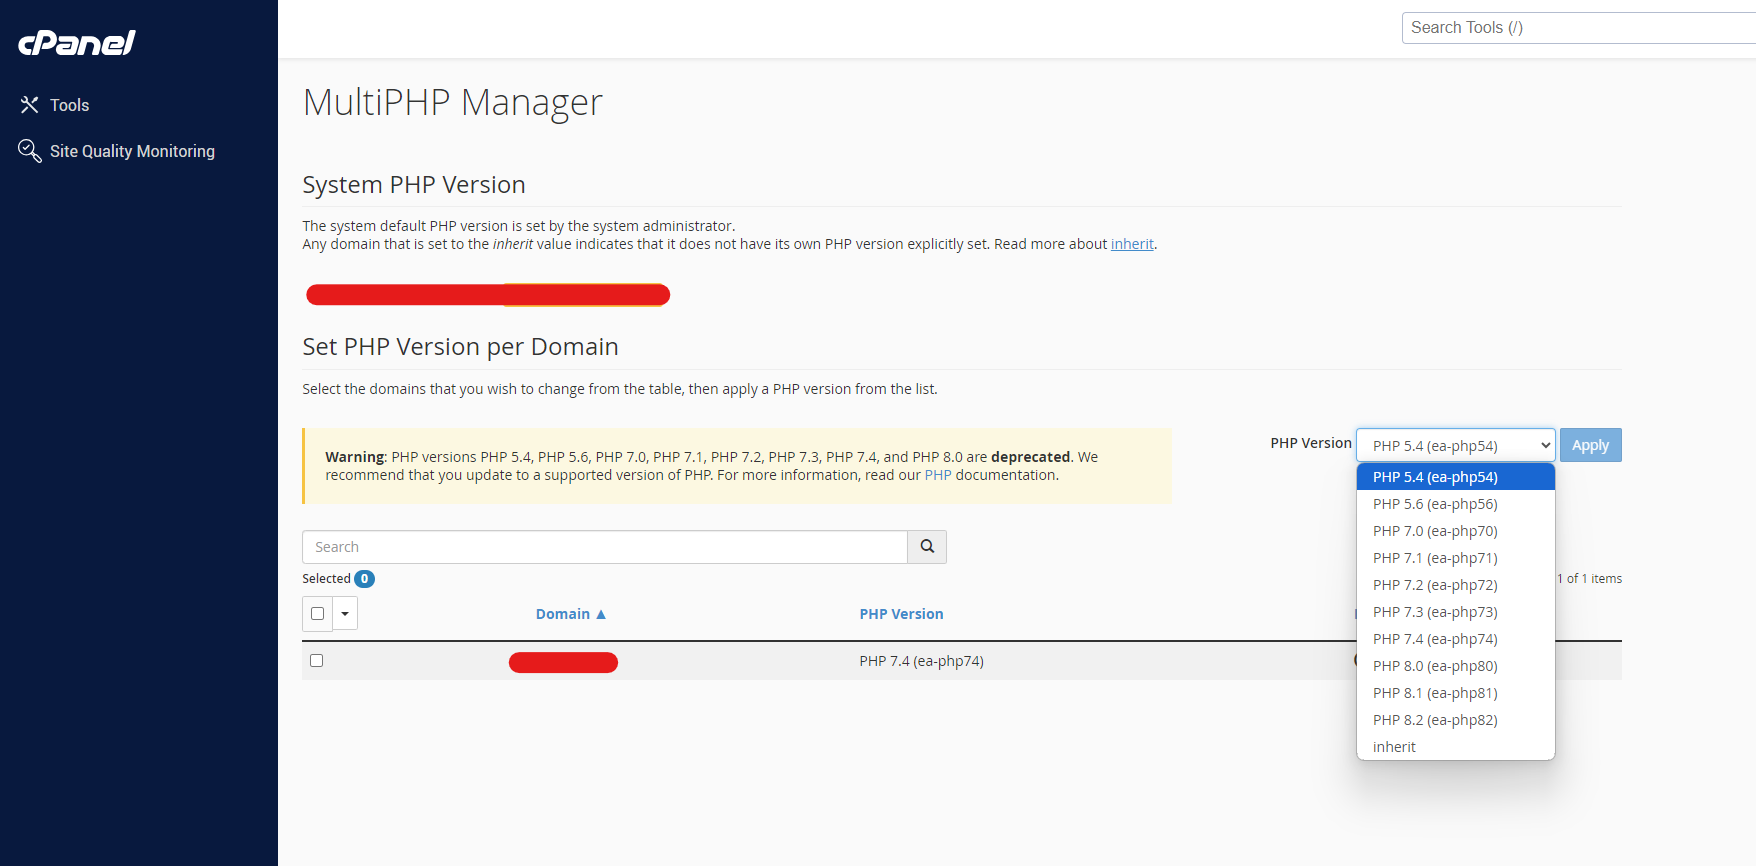
Once you’re logged in, scroll down to the “Software” section. Here, you’ll find the option labeled “MultiPHP Manager.” Click on it.
Step 3: Choose Your Desired PHP Version
In the “PHP Selector” interface, you’ll see a dropdown menu showing the currently active PHP version. Click the dropdown to see a list of available PHP versions. Choose the version you wish to switch to (e.g., PHP 7.4, PHP 8.0, etc.).
Step 4: Set the PHP Version
After selecting the PHP version, click the “Set as Current” button to apply the change. The new PHP version will now be active for your website.
Step 5: Configure PHP Extensions (Optional)
Underneath the version selector, you’ll see a list of PHP extensions that are enabled or disabled by default. Depending on your application’s requirements, you can enable or disable specific extensions by checking or unchecking the boxes.
Once you’ve made your changes, click “Save” to apply the settings.
Changing PHP Version in DirectAdmin
DirectAdmin is another popular web hosting control panel. The process of changing the PHP version in DirectAdmin is slightly different from cPanel but still straightforward.
Step 1: Log in to DirectAdmin
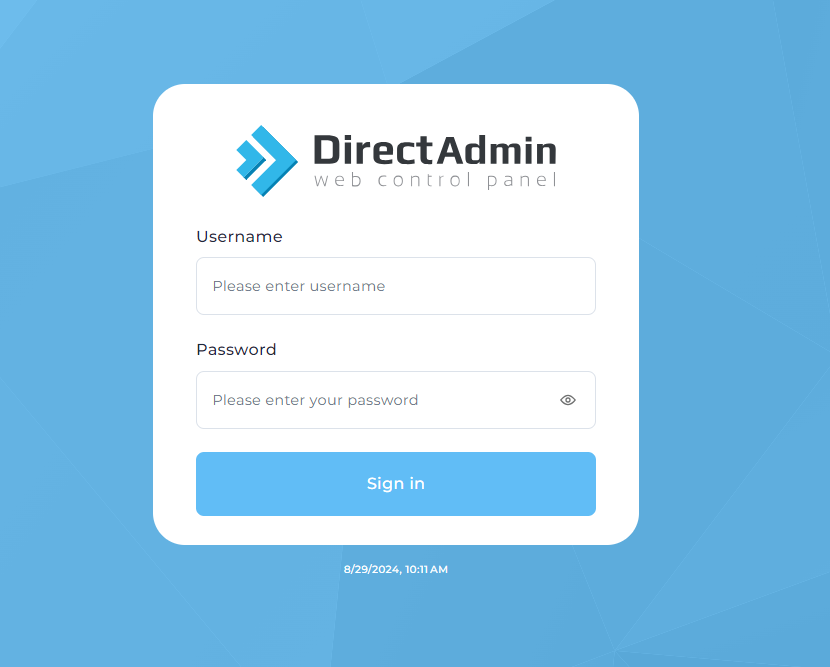
Log in to your DirectAdmin account. You can usually access DirectAdmin by navigating to http://yourdomain.com:2087 or via your hosting provider’s portal.
Step 2: Navigate to the “PHP Version Selector”

In DirectAdmin, find the “Account Manager” section in your dashboard. Here, look for the option called “PHP Settings” and click on it.
If you don’t see this option, your hosting provider may need to enable it for your account, or you may need to check if your server is configured to allow multiple PHP versions.
Step 3: Select the Desired PHP Version
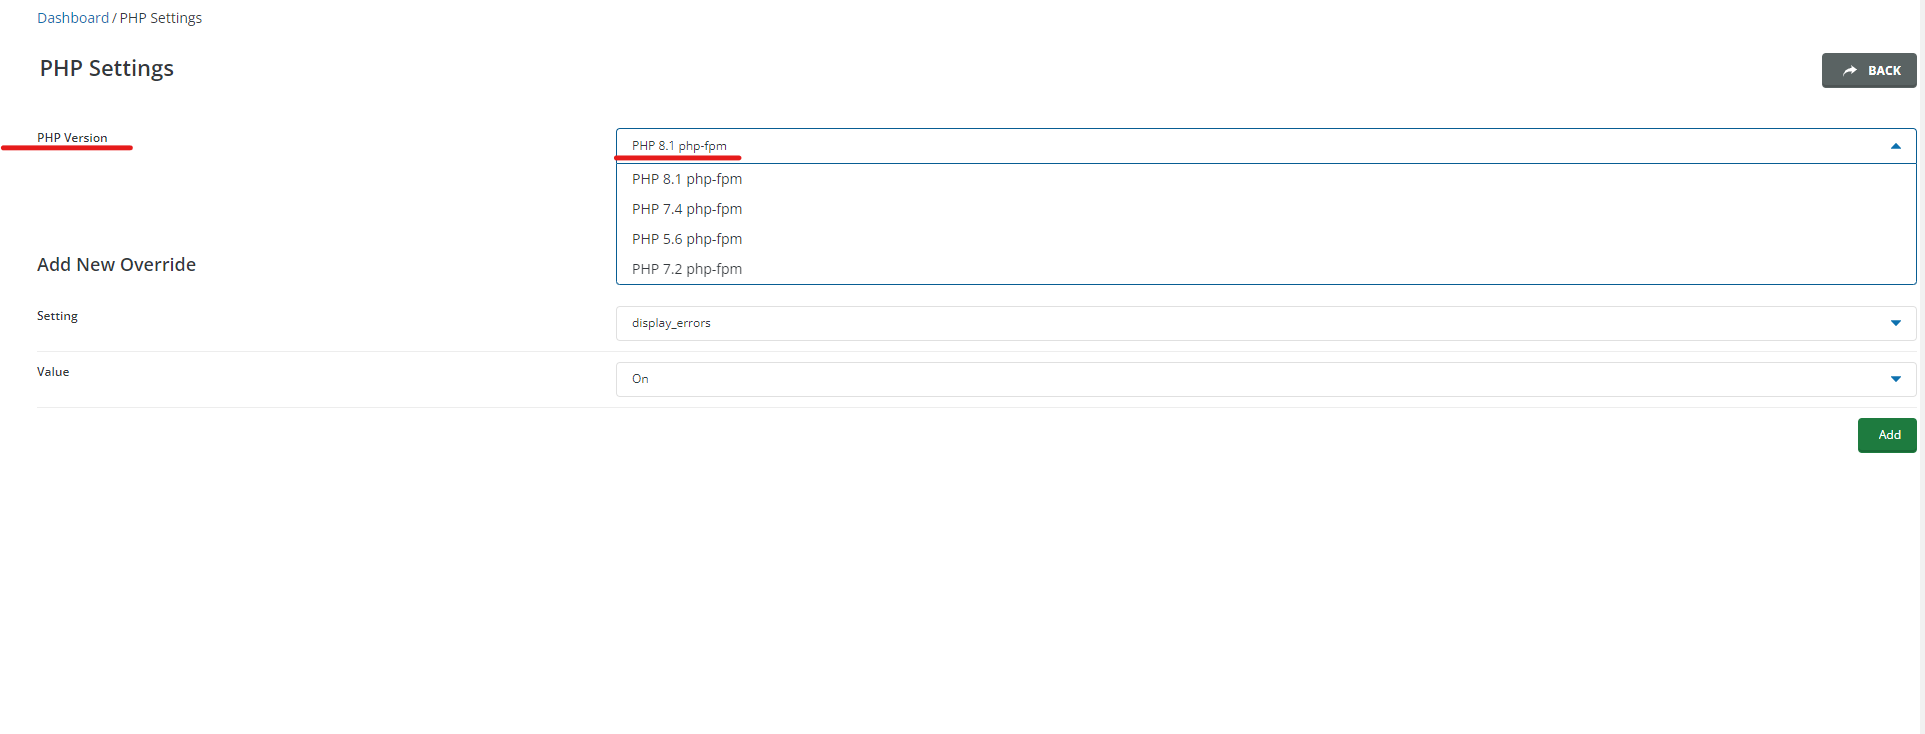
Once you’re in the PHP Settings, you will see a list of domains or subdomains hosted on your account. Select the domain for which you want to change the PHP version.
After selecting the domain, a dropdown menu will appear showing the available PHP versions. Choose the version you wish to use (e.g., PHP 7.4, PHP 8.1, etc.).
Step 4: Save the Changes
After selecting the PHP version, click “Save” to apply the changes. DirectAdmin will now update your account to use the selected PHP version for the specified domain.
Common Issues and Troubleshooting
Sometimes, issues may arise when changing PHP versions, especially if your website or applications depend on specific configurations or extensions. Here are a few common issues and how to troubleshoot them:
- White Screen of Death (WSOD): If your site displays a blank white screen after changing the PHP version, it may be due to compatibility issues with your code or plugins. Check your server’s error logs to diagnose the issue.
- Missing PHP Extensions: Some applications require specific PHP extensions to function. If your site breaks after the PHP version change, ensure the necessary extensions are enabled in the PHP configuration.
- Incompatible Code: Some older code may not be compatible with newer PHP versions. In such cases, you may need to update your code or consult a developer to ensure compatibility.
Conclusion
Changing the PHP version in cPanel and DirectAdmin is an essential task for ensuring your website remains secure, efficient, and compatible with the latest features. By following the steps outlined in this guide, you can easily switch between PHP versions as needed, depending on your website’s requirements.
Always remember to test your website after changing the PHP version to ensure everything is functioning correctly. If you encounter issues, consider consulting with your hosting provider or a developer to resolve any compatibility problems.
With the right PHP version in place, your website will run smoothly, delivering a better experience for both you and your visitors.