
In the hosting world, as clients’ needs grow or scale back, it becomes essential to adjust their hosting plans to fit their requirements. For web hosting providers and administrators using WHM (Web Host Manager), change the plan of cPanel account’s plan is straightforward and can be done in just a few steps. This guide will take you through the process, explain the benefits, and cover tips for efficient plan management.
Why Change the Plan for a cPanel Account?
There are several reasons why changing the plan for a cPanel account may be necessary:
- Upgrading Resources: When a client’s website grows, they may need more storage, bandwidth, or features.
- Scaling Down Resources: In cases where fewer resources are needed, a downgrade can reduce costs.
- Quick Plan Adjustments: WHM’s predefined plans allow quick application of account settings based on need.
Step-by-Step Guide to Changing a cPanel Account’s Plan in WHM
Step 1: Log into WHM
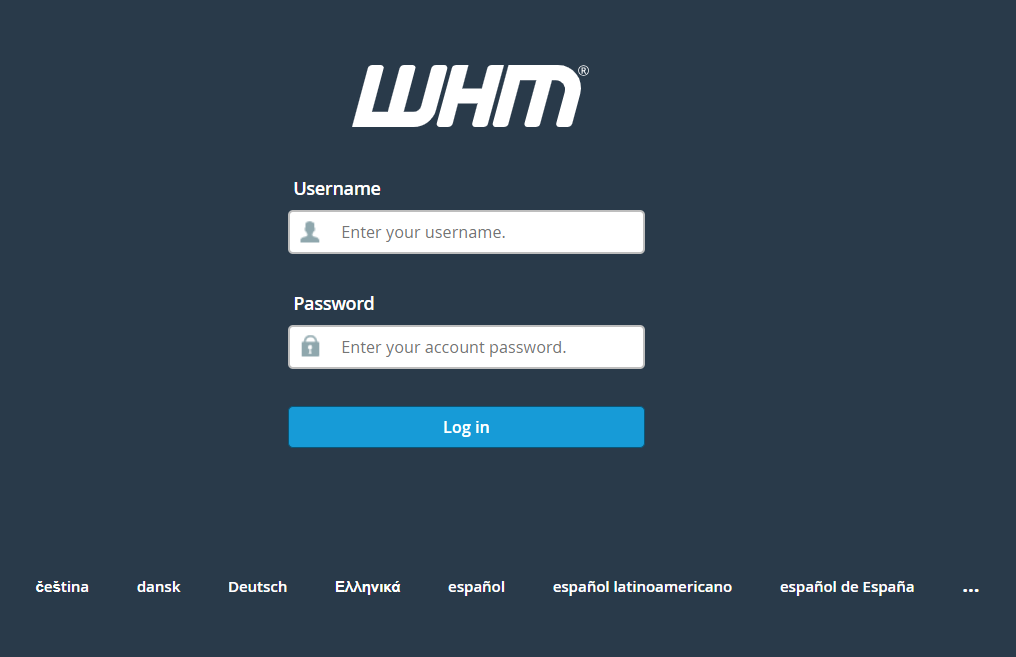
- Open your WHM by visiting
https://yourhostname.com:2087or as specified by your hosting provider. - Enter your Username and Password to access WHM.
Step 2: Go to Account Functions

- Once logged in, scroll down to the Account Functions section in WHM’s main menu.
- Click on List accounts to manage the account plan settings.
Step 3: Select the cPanel Account
- You will see a list of accounts hosted on the server.
- Locate the account whose plan you want to change, either by username or domain name.
- Select the account and click “+” symbol and Change Plan.

Step 4: Choose the New Plan
- In the account settings, find the Current Package field.
- Select the new plan you want to assign from the dropdown menu. WHM will apply the settings from this plan, updating resources like storage, bandwidth, and email allowances.
- Click upgrade/Downgrade to confirm the change.

Step 5: Verify the Change
After saving, WHM will apply the new plan’s specifications to the account. You can confirm the update by navigating to List Accounts in WHM and reviewing the account’s current package settings.
Common Issues When Changing Plans in WHM
- Missing Plan: Ensure the new plan is created in WHM under Packages > Add a Package if it’s not showing up.
- Permission Errors: If you encounter permission issues, you may need higher-level access to make these changes.
- Overage Warnings: Make sure the server can handle additional resources if the new plan has higher limits.
Benefits of Managing cPanel Plans in WHM
Changing hosting plans allows you to efficiently manage resources, ensuring that each cPanel account has access to exactly what it needs. With WHM, you can easily adapt to clients’ changing needs, enabling a smooth experience whether they require more resources for a growing business or wish to scale back.